Last updated November 17, 2026








Free written scope consultation - allowances, timeline, and change-order rules on paper before a single trade is scheduled
Bathroom Remodeling Maintenance Schedule: What to Do and When
The silicone caulk bead at the bottom of your new tub surround has an effective service life of about two to three years. Not because it fails dramatically, but because it slowly loses adhesion at the substrate edge and lets water in quietly. By the time you notice a soft spot or a dark line creeping up the tile, the damage has been working for months. That’s the part most contractors skip at project close: the maintenance calendar that keeps a remodeled bathroom performing past its first year. This guide lays out a month-by-month schedule for the first three years after a remodel in Sunnyvale, organized around the materials actually installed in your bathroom.
Quick Answer
Maintain a remodeled bathroom on a three-tier schedule: spot-check caulk and grout every month, reseal grout and replace failing caulk every 12 to 24 months depending on grout type, and service your exhaust fan filter and motor annually. Sanded grout needs resealing every 12 to 18 months, unsanded grout every 12 months, and epoxy grout needs no sealing at all. Clean with pH-neutral products only. Exhaust fan airflow is the single biggest variable in how fast everything else degrades.
Styles & brands we work with
- Kitchen remodeling
- Bathroom remodeling
- Home additions & ADU
- Roofing
- Windows & doors
- Driveway & pavers
- Fence
Table of Contents
- The Month-by-Month Calendar: Years One Through Three
- Grout Sealing Schedules by Grout Type
- How to Tell If Caulk Needs Spot Repair or Full Replacement
- Exhaust Fan Maintenance: The Biggest Driver of Failure
- Which Cleaning Products Are Safe for Which Surfaces
- How Your 365-Day Workmanship Guarantee Interacts With Owner Maintenance
- Sunnyvale Climate and Water: What’s Actually Hard on Your Bathroom
The Month-by-Month Calendar: Years One Through Three
A newly remodeled bathroom needs almost nothing in its first 90 days beyond ordinary cleaning. The schedule below covers what to inspect and when for the remaining 33 months of the three-year window. We’ve walked Sunnyvale homeowners through this timeline at project close for years, and the pattern holds: homes that follow it don’t call us back for repair work, and homes that skip it usually call around month 18 or 24.
Year One
- Months 1-3: Wipe down new surfaces weekly with a pH-neutral cleaner (like a diluted dish soap solution). Don’t seal anything yet. Fresh grout needs to cure fully, and most installers apply a sealer at install. Inspect the caulk line at the tub and shower base monthly by pressing gently along its length. Any soft spot or gap means a spot repair.
- Month 4: Vacuum the exhaust fan grille. Unclip the cover and wash it in warm water. Check that the fan pulls a tissue against the grille when running.
- Months 6 and 9: Repeat the caulk inspection. Check grout lines for pinholes or crumbling at the corners where two planes meet. Photograph any change.
- Month 12: Reseal tile grout if it’s sanded or unsanded. Test first: sprinkle water on a grout line. If it beads, sealer is still active. If it soaks in dark, reseal. Clean the exhaust fan motor housing with a soft brush.
Year Two
- Months 13-18: Inspect the caulk at the tub, shower pan and sink backsplash every other month. This is when the first full caulk replacement usually becomes necessary, particularly at the tub deck where water sits.
- Month 18: Reseal sanded or unsanded grout again if the water test shows absorption. Check the fan’s airflow with a tissue again. If it’s noticeably weaker, the blade or ductwork may need cleaning.
- Month 24: Replace all silicone caulk joints in wet areas. Even if they look intact, adhesion at the substrate edge has likely degraded enough to let moisture behind the tile.
Year Three
- Months 25-30: Continue monthly caulk inspections. Check any grout on a horizontal surface (shower floor, niche shelf) at 30 months.
- Month 30: Second full caulk replacement in wet areas. Reseal grout if applicable.
- Month 36: Full inspection: caulk, grout, fan, fixture cartridges, drain seals. This is when small issues start compounding if they haven’t been caught.
Grout Sealing Schedules by Grout Type
Most homeowners have no idea which grout type was installed, and that’s a problem because the sealing schedule differs meaningfully. If your installer didn’t tell you, you can identify the type by looking at the grout lines. Sanded grout has a gritty texture from fine sand and is used in joints 1/8 inch wide or larger. Unsanded grout is smooth and dense and is used in narrow joints. Epoxy grout has a slight plastic sheen and feels hard under a fingernail.
- Sanded grout: Reseal every 12 to 18 months. The sand content makes it more porous. The trade-off is that sanded grout resists cracking better in wider joints, so it’s common on shower floors.
- Unsanded grout: Reseal every 12 months. Its density helps, but narrow joints hold moisture against the sealer longer.
- Epoxy grout: No sealing needed. Epoxy is waterproof on its own. It doesn’t stain easily and doesn’t need resealing. It does need pH-neutral cleaning, since strong acids will dull the finish.
If a bathroom remodel in Sunnyvale used a tile-and-epoxy combination, your grout maintenance is close to zero, and that comes up often when homeowners are choosing materials. If it used sanded or unsanded grout, put the reseal date on your calendar. Sealers are not permanent. A quality penetrating sealer lasts 12 to 18 months in a shower and up to two years on a wall.
How to Tell If Caulk Needs Spot Repair or Full Replacement
Spot repair extends the life of a caulk joint by 6 to 12 months and is worth doing on any joint under 18 months old. Full replacement becomes the right call once adhesion has failed along more than about a quarter of the joint, or whenever water has gotten behind the caulk.
Here’s how to check:
- Press a fingernail gently along the caulk bead. Soft or spongy sections have lost adhesion underneath.
- Look for a dark hairline where the caulk meets tile or tub. That’s the first sign water is tracking behind the edge.
- Pull a 1-inch section at one corner. If it peels away cleanly and the substrate beneath is dry, you’ve caught it in time.
- If the substrate is damp, or the peel pulls grout or a chunk of finish with it, stop and call a professional. Water has already invaded the assembly.
For replacements, use 100% silicone in wet areas like tub surrounds and shower pans. Use siliconized acrylic (also called painter’s caulk) only at dry joints like the backsplash meeting a painted wall, where paint adhesion matters. Kohler and Moen tubs and shower bases specify 100% silicone in their installation guides, and using the wrong product voids those manufacturer warranties. A tube of color-matched 100% silicone in white, almond or clear runs $8 to $15 at any Sunnyvale hardware store. Replace caulk in wet areas every 24 months even if it looks intact.
Exhaust Fan Maintenance: The Biggest Driver of Failure
An exhaust fan that isn’t moving enough air is the single biggest reason bathroom finishes fail. Not mold cleaners, not shower habits, not hard water. Airflow. A properly sized fan pulls 1 CFM (cubic foot per minute) for every square foot of bathroom floor area. An 80-square-foot bathroom needs an 80 CFM fan. If yours is undersized or clogged, moisture lingers on every surface for hours after a shower, and that moisture attacks grout, caulk and paint first.
Signs your fan isn’t moving enough air:
- Mirror stays fogged more than 5 minutes after a shower ends
- Fan is quiet even on high (a healthy fan is audible)
- Tissue won’t hold against the grille when running
- Dust builds on the grille within weeks of cleaning
Maintenance steps:
- Unclip the grille and wash it in warm water every 6 months.
- Vacuum the visible blade and motor housing with a soft brush every 12 months.
- Check the exterior roof or wall vent annually. Debris, bird nests and stuck dampers are common in Sunnyvale homes, especially after a wet winter.
- If airflow is still weak after cleaning, the duct run may be pinched, undersized or disconnected. Have it inspected.
Run the fan for 15 to 20 minutes after every shower and during the shower itself. That’s not overkill; it’s what prevents the 24-month caulk failure cycle from becoming a 12-month cycle.
Which Cleaning Products Are Safe for Which Surfaces
The wrong cleaner causes more damage to remodeled surfaces than any other maintenance mistake we see. Save this list and refer to it before buying anything new.
- Natural stone (marble, travertine, limestone): pH-neutral stone cleaner only. Vinegar, bleach and citrus etch the surface permanently.
- Porcelain and ceramic tile: pH-neutral cleaner works for routine cleaning. A mild oxygenated cleaner is fine for occasional stain removal.
- Glass tile: pH-neutral, non-abrasive. Avoid powders and scrub sponges with grit.
- Quartz (Cambria, Silestone, Caesarstone): pH-neutral soap and water. Avoid bleach, ammonia and acetone; they can dull the resin surface over time.
- Acrylic tubs: Non-abrasive liquid cleaners only. No scrubbing powders, no bleach on the surface. Kohler’s own care guide recommends a mild dish soap and water for most routine cleaning.
- Enameled cast iron tubs: Most liquid cleaners are safe. Skip abrasive powders that dull the enamel over years.
- Chrome, brushed nickel and matte black fixtures: Soft cloth and mild soap. Abrasive pads scratch, and ammonia-based cleaners strip the finish faster than anything else.
- Epoxy grout: pH-neutral cleaner only. Vinegar and acidic cleaners break the finish down.
The general rule: if you wouldn’t put it on your car’s paint, don’t put it on your tile or stone. And for anything with a manufacturer warranty, the care guide is the reference the warranty enforces, so keep those documents together.
How Your 365-Day Workmanship Guarantee Interacts With Owner Maintenance
A workmanship guarantee covers defects in the work itself. It does not cover damage caused by failing to maintain the installation, and it can’t reasonably be expected to. That’s true at Penhallow and at any contractor operating with a written guarantee. But the split is often clearer in practice than some homeowners expect, so here’s how we handle it on every job.
What our 365-Day Done Right Promise covers:
- Caulk or grout that fails within the first 12 months at a joint we installed, unless the failure is due to a cleaner or an impact the homeowner caused
- Cracked or popped tile from an installation defect, such as missing coverage under a tile
- Fixture leaks where the failure traces back to how the fixture was set or connected
- Drain or valve installation issues
- Any installation step that doesn’t match the standards set at project close
What we cannot cover:
- Caulk that failed at 24 months, when the homeowner never inspected it
- Grout damage caused by a strong acid cleaner the homeowner applied
- Mold behind a wall where the exhaust fan was never run
- Damage from a home’s own plumbing pressure changes
What a homeowner needs to demonstrate if a claim comes up: that routine maintenance was performed on schedule. We don’t ask for receipts, and we don’t ask for photos, but if the visible evidence shows a joint that hasn’t been touched in two years, that shapes the conversation. The Kingswell Way, which we operate under, says the price is written before the work starts and the guarantee is written with it. “Say the price before the work. Show up in the window we gave. Leave the place cleaner than we found it.” The maintenance side is a partnership, and both sides have to hold up their end.
Free second-visit repairs within the guarantee period are part of the promise. If something we installed fails inside 365 days, we come back and fix it at no charge. That includes any secondary visit to inspect and confirm the cause.
Sunnyvale Climate and Water: What’s Actually Hard on Your Bathroom
Sunnyvale sits in a mild, mostly-dry climate, and that changes the maintenance equation in ways homeowners moving from other parts of the country don’t expect. Two things matter more here than most people realize.
Water hardness. Sunnyvale’s water is moderately hard, in the 8 to 12 grains-per-gallon range depending on the supply mix. That means mineral scale builds on shower glass, tile, and fixture finishes faster than in softer-water regions. A squeegee after every shower does more to extend glass-life than any product. A monthly descaling wipe with a mild acid solution (for glass and porcelain only) keeps scale from etching into grout pores.
Seasonal swings and ventilation. Sunnyvale isn’t humid by national standards, but winter rains push 60 to 70 percent relative humidity into the air for weeks at a time. Homes without adequate bathroom ventilation in that stretch see the highest risk of mold and grout failure. If your bathroom doesn’t have a fan, or the fan runs under 80 CFM in a bathroom over 80 square feet, insulation and moisture issues compound fast. We regularly replace undersized fans in Sunnyvale homes that are fifteen or twenty years old.
Expansive clay soil in parts of Sunnyvale. The same soil movement that cracks driveways can crack tile grout lines if the foundation shifts even slightly. If you notice a longer crack than a hairline in a grout line after a wet winter, that’s a signal worth a call, not a tube of caulk.
Sunnyvale homes built in the 1970s and 1980s often have the original bathroom fan ducts pinched to under 4 inches, which renders even a properly sized fan ineffective. If you’re renovating a bathroom in Sunnyvale, upgrading the duct is a low-cost addition that returns years of better performance. Our bathroom remodeling in Sunnyvale projects include a duct inspection at project start for exactly this reason.
Common Mistakes to Avoid
- Using vinegar to clean stone or grout. Vinegar is a mild acid and will etch natural stone and break down penetrating sealer over time. Sunnyvale’s moderately hard water makes descaling with acid tempting, but keep it off the stone and grout.
- Sealing grout twice in one year. Sealer needs to fully cure between coats. Over-sealing traps moisture and creates a cloudy film that’s hard to remove.
- Caulking over old caulk without removing it. The new bead won’t adhere to a substrate hidden beneath failed old caulk, and it will fail again within months.
- Ignoring a slightly undersized exhaust fan. A 50 CFM fan in an 80-square-foot bathroom is essentially a decorative noise box. Sunnyvale homes built before 1990 regularly still have them.
- Wiping chrome and matte fixtures with an ammonia cleaner. It strips the finish, and once it’s gone you can’t get it back without replacing the fixture.
- Skipping maintenance months during the busy stretch of spring. The wet-energy rainy season, generally November through March in Sunnyvale, is the highest-risk period for grout failure, and it’s exactly when the monthly caulk inspection matters most. Put the check on your phone, not your memory.
- Assuming a workmanship guarantee covers wear. Our 365-Day Done Right Promise covers installation defects. It doesn’t cover neglect at year three. The maintenance partnership keeps both the bathroom and the guarantee healthy.
See the difference
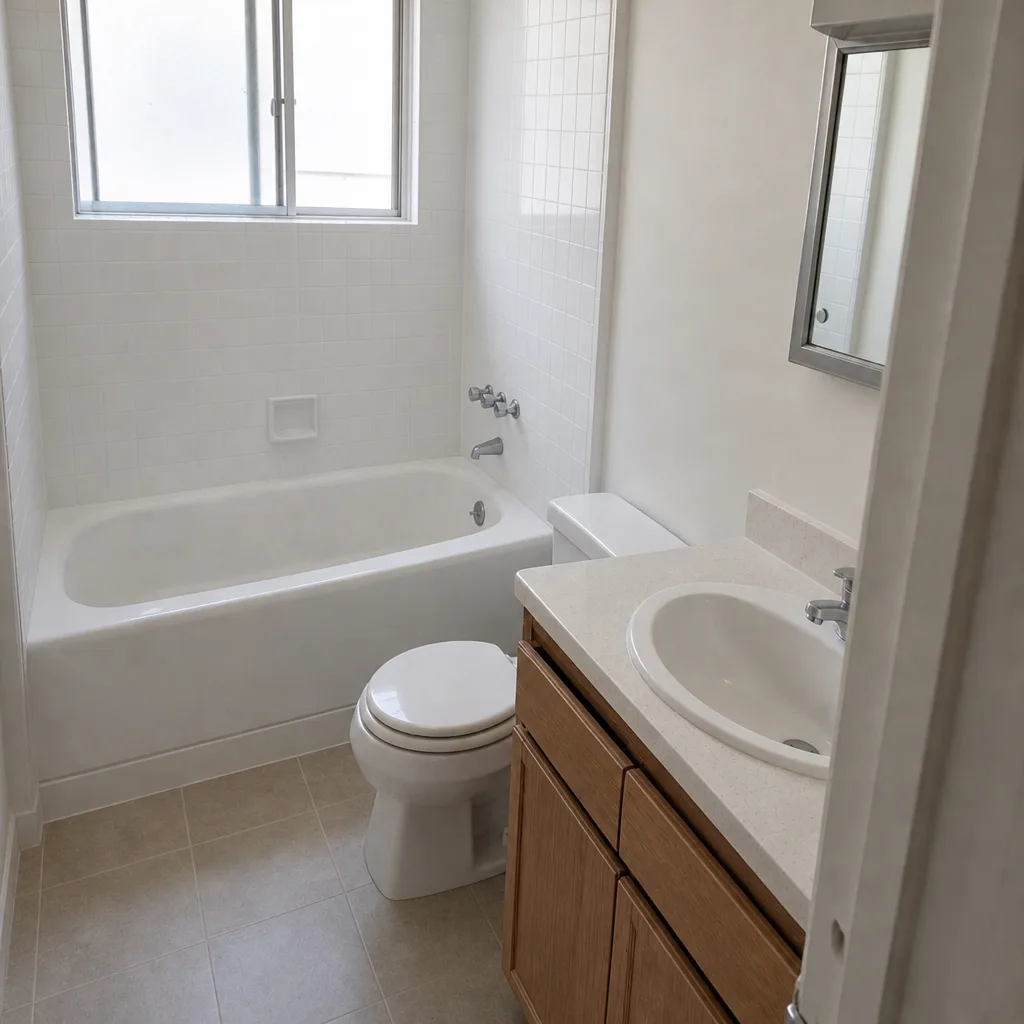
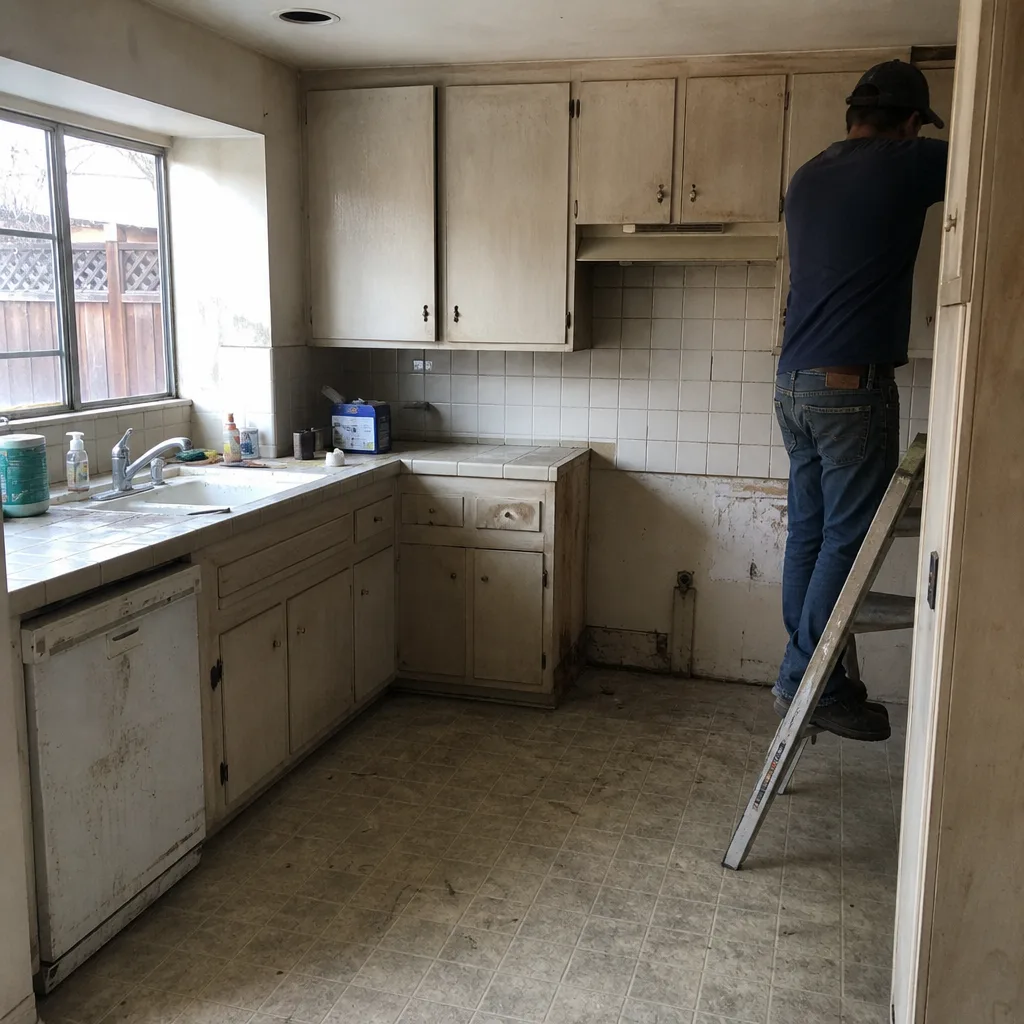 Before
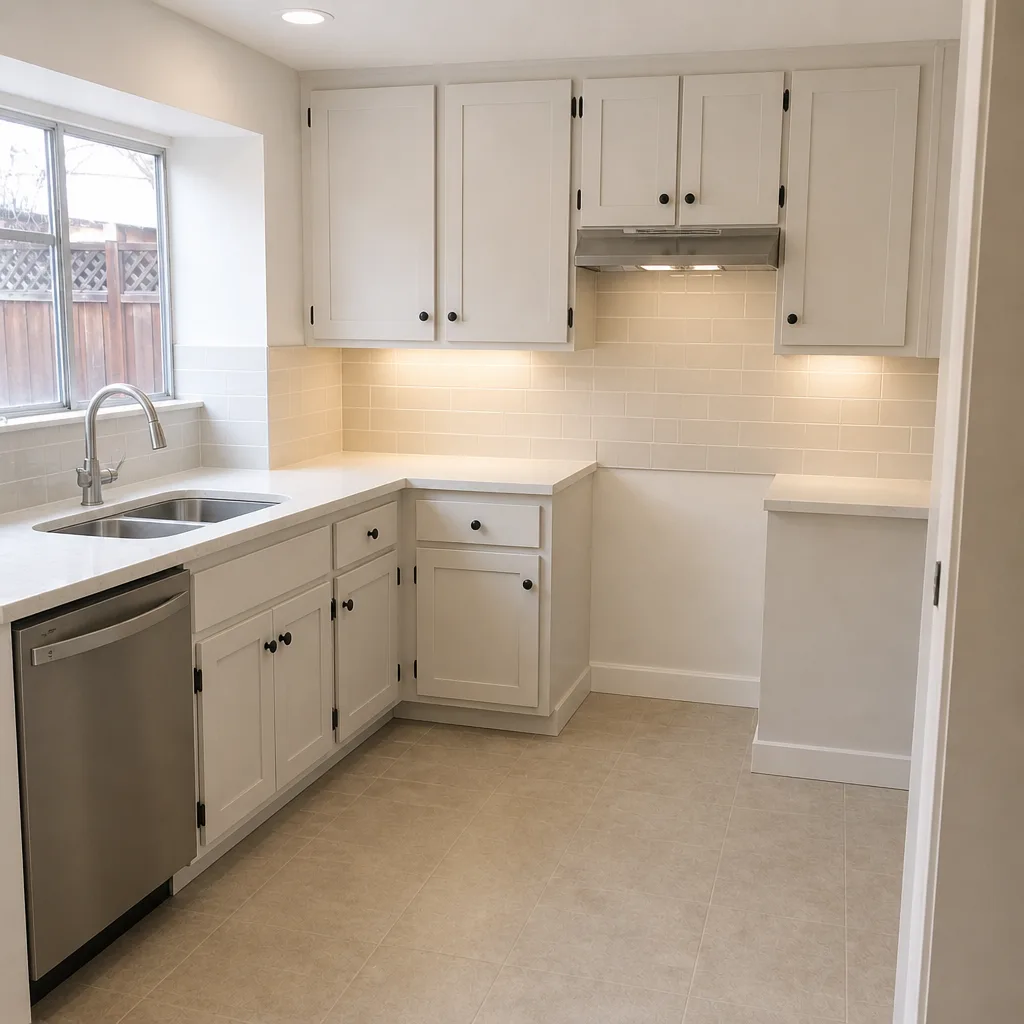 After
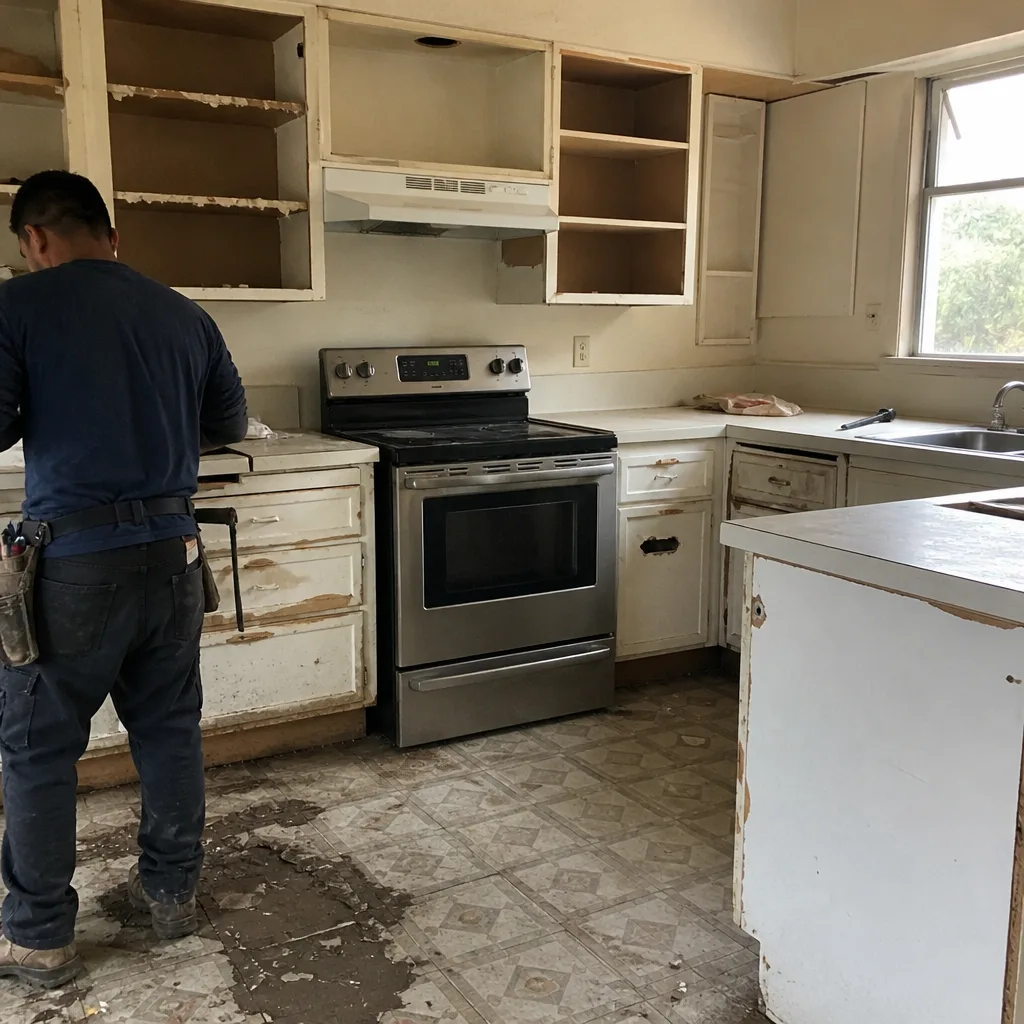
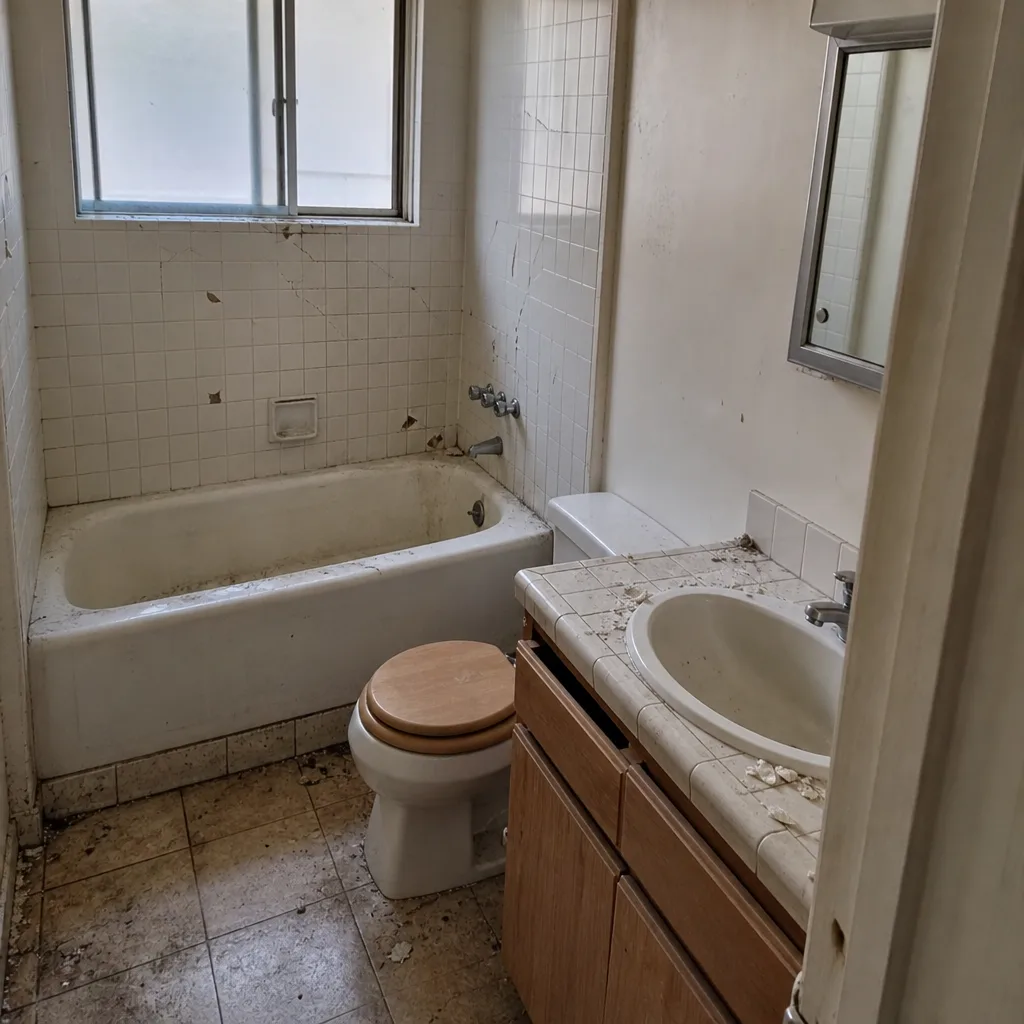 Before
 After
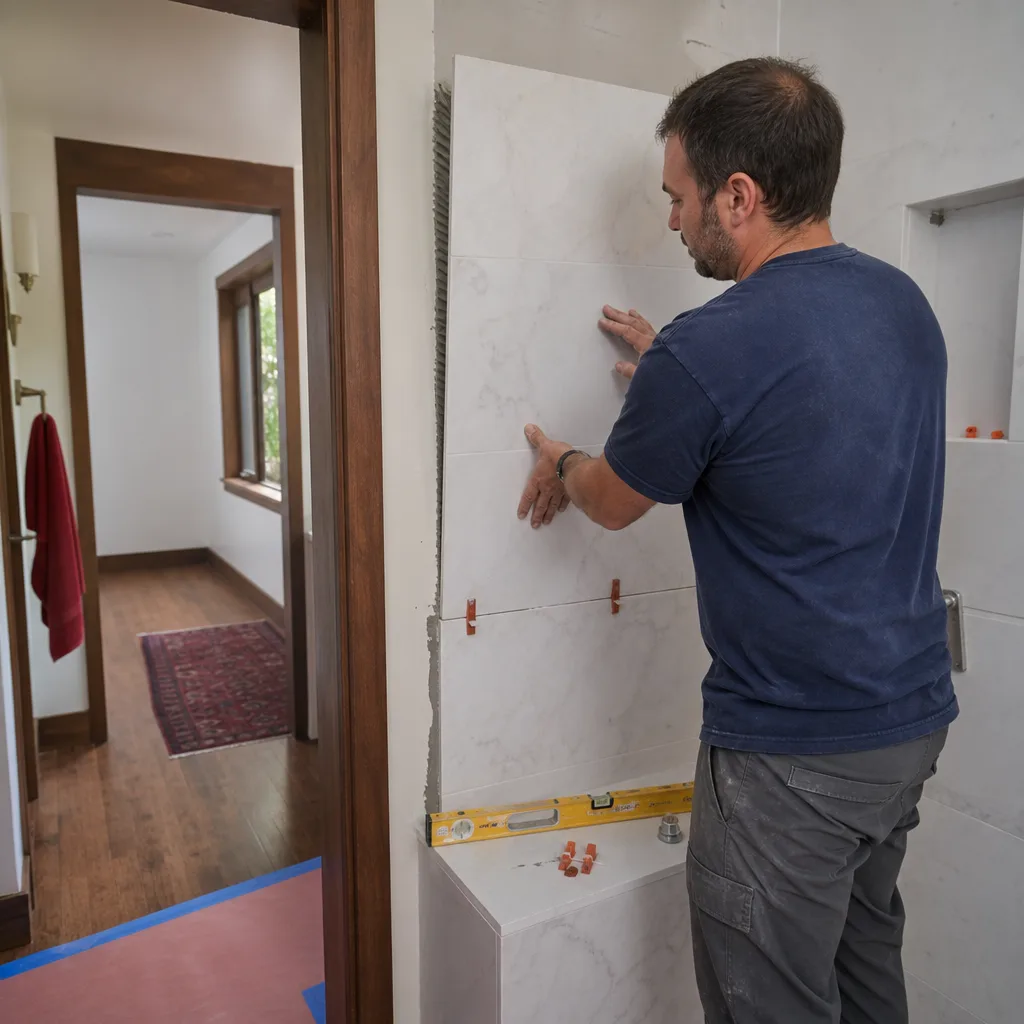
 Before
 After
When to Call a Professional
Most maintenance tasks in this guide are things a homeowner should handle: inspecting caulk, cleaning the fan grille, applying a penetrating sealer, wiping down tile. A short list of failures requires a professional. Call when water has gotten behind a caulk line and the substrate is damp. Call when a grout line has cracked more than hairline depth, particularly if it feels like the tile beneath is loose. Call when the exhaust fan runs but doesn’t move air after cleaning. Call when a fixture cartridge is leaking (Delta and Moen cartridges are replaceable, but seat and valve issues require opening the wall). And call when you see dark discoloration spreading along a shower pan edge or a niche corner, which usually means more than surface mold.
If the failure is inside your first year, it may be covered by our guarantee. Our project team treats second-visit repairs as no-cost work when the failure traces to installation. Penhallow Remodeling Sunnyvale offers free estimates in Sunnyvale – call (888) 426-8719 to talk through what you’re seeing.
If you’re planning the next project rather than fixing this one, our Penhallow Remodeling Sunnyvale home page covers how we structure every estimate, and our General Contractor in Sunnyvale overview explains how bathroom work fits into a whole-home plan. For the sister-guide on kitchens, see our kitchen remodeling in Sunnyvale resource.
Frequently Asked Questions
Sanded grout should be resealed every 12 to 18 months, unsanded grout every 12 months, and epoxy grout never. The water-drop test tells you when it’s time: sprinkle a few drops of water on a grout line and see whether it beads (sealer still active) or soaks in dark (time to reseal). Call (888) 426-8719 if you’re unsure which grout type you have; estimates on repairable grout work are free.
If less than a quarter of the caulk bead has lost adhesion at the substrate edge, spot repair works. If more than a quarter has failed, or if you find moisture behind the joint, replace the full run. Press a fingernail along the bead: soft or spongy sections have failed even when they look fine. Always use 100% silicone in wet areas; siliconized acrylic belongs only at dry joints where paint meets wall.
Clean the grille every six months and the motor housing every twelve. Test airflow with a tissue once a month; a properly sized fan should hold tissue to the grille with no gaps. If a Sunnyvale bathroom is over 80 square feet and the fan is rated under 80 CFM, the fan is undersized no matter how well it’s cleaned. Replacing the fan is a small job, and we do it as part of most bathroom remodels in Sunnyvale homes with original-equipment fans.
If the failure traces to installation and the homeowner has performed the routine inspections described in this guide, yes, our 365-Day Done Right Promise applies within the first 365 days. Beyond 365 days, caulk failure is considered normal wear and joint maintenance. That’s why we recommend a full caulk replacement at month 24 in wet areas, before failure occurs. Call (888) 426-8719 to schedule a free second visit if you’re inside your guarantee period and unsure what caused a failure.
Avoid vinegar, bleach, ammonia and any abrasive powder on grout, natural stone, matte fixtures and epoxy surfaces. All four cause damage that isn’t repairable. A pH-neutral cleaner safe for every surface in the bathroom is the single product worth keeping under your sink; keep a separate mild acid cleaner only for glass or porcelain, used sparingly, and never on stone, grout or fixtures.
Moderately hard water causes mineral buildup on glass, chrome and grout but doesn’t damage the tile itself, and routine squeegeeing plus a monthly descaling wipe on glass surfaces keeps it under control. The bigger local risk is the wet-winter humidity cycle, which accelerates grout and caulk failure if ventilation is inadequate. Call (888) 426-8719 for a free estimate if you’re seeing scale on fixtures or humidity issues in your bathroom.
The Bottom Line
The maintenance that protects a remodeled bathroom is mostly small, regular, and cheap compared to the repair costs that follow if you skip it. Inspect caulk monthly. Reseal grout on a schedule that matches its actual type (epoxy needs none). Service the exhaust fan twice a year. Keep pH-neutral cleaners under the sink and the harsher products in the garage. Do those four things and most bathroom installs in Sunnyvale will hold up past the point where the guarantee matters. Skip them and the caulk will tell you around month 24, usually at the worst possible moment. Call our team at (888) 426-8719 to schedule a free estimate if you’re planning a renovation or wondering whether a current failure is worth a repair or a replacement.
Written by the team at Penhallow Remodeling Sunnyvale.