Last updated November 17, 2026








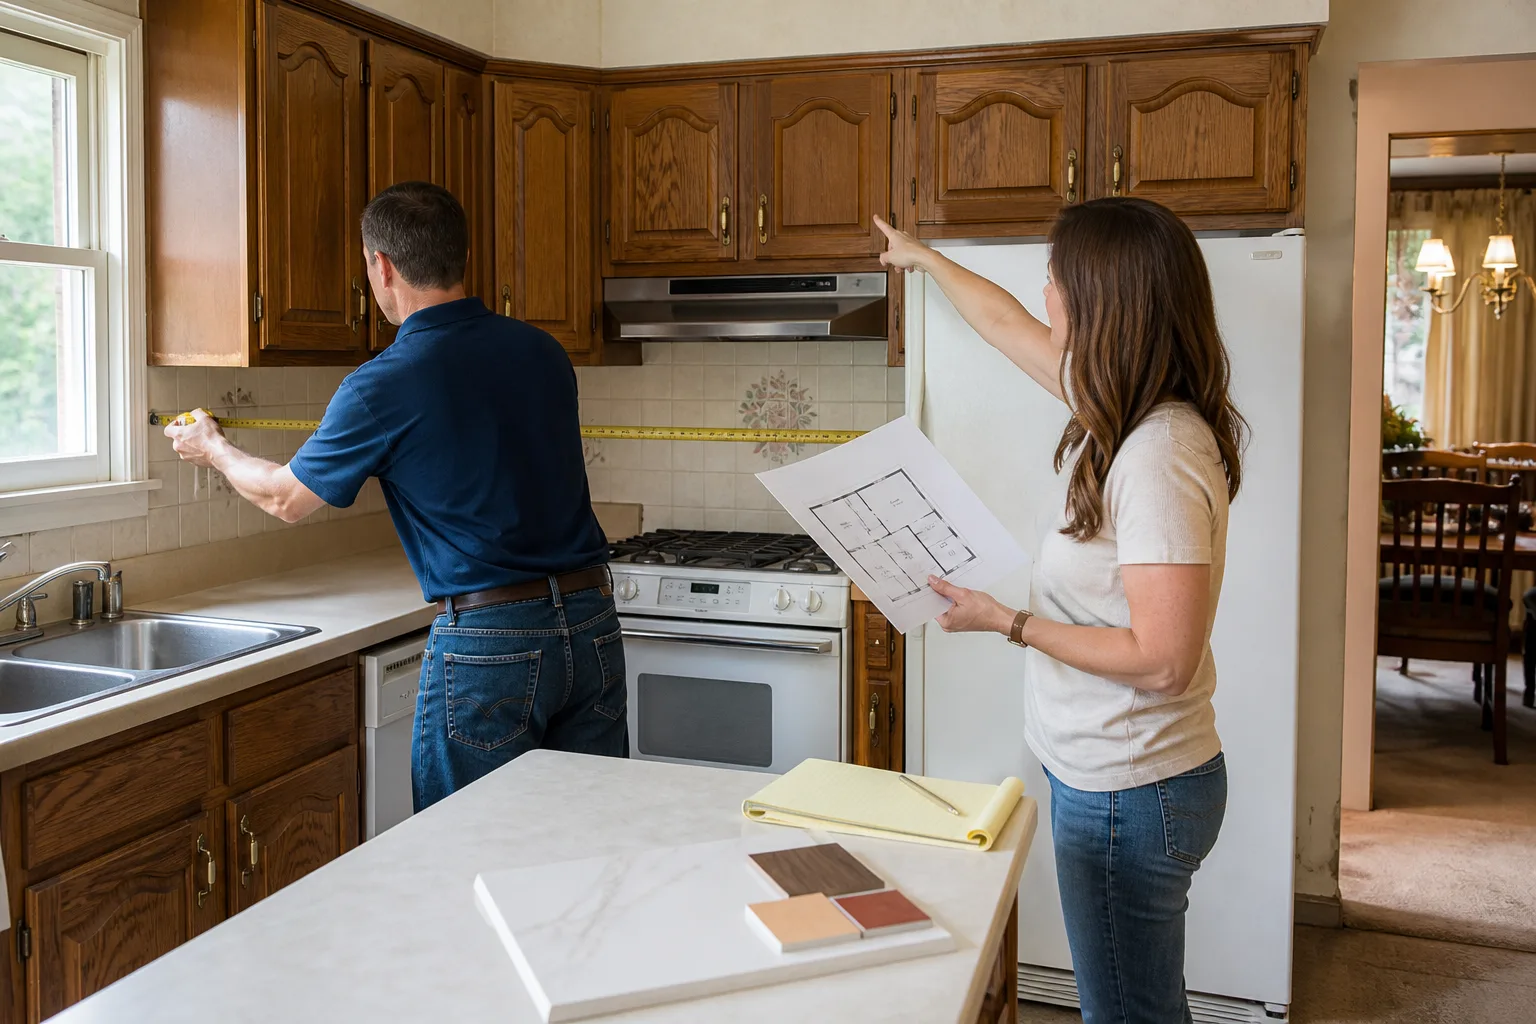
Free written scope consultation - allowances, timeline, and change-order rules on paper before a single trade is scheduled
General Contractor Maintenance Schedule: What to Do and When
A grout line that starts opening up at year two isn’t a cosmetic problem. It’s a waterproofing failure, and water has been moving behind your wall for months before that gap showed. The most expensive repairs we see in Sunnyvale don’t start with a dramatic leak. They start with something small and hidden: a hairline crack in tile backer, a caulk joint that dried out, a supply line fitting that’s been weeping a drop a day since the remodel wrapped. This guide lays out what a general contractor actually touches in your home, when those systems need checking, and how to catch a small failure before it becomes a full gut-job. Most of it takes an afternoon a year.
Quick Answer
The core maintenance schedule after a remodel runs on four checkpoints: 30 days for settling and cure issues, 6 months for caulk and sealant inspection, 12 months for a full trade-by-trade review before your workmanship warranty expires, and then annually after that. The systems that matter most are the ones you can’t see: tile substrate and waterproofing, framing movement at openings, electrical connections at outlets and panels, and plumbing rough-in joints under cabinets and floors.
Styles & brands we work with
- Kitchen remodeling
- Bathroom remodeling
- Home additions & ADU
- Roofing
- Windows & doors
- Driveway & pavers
- Fence
Table of Contents
- The 30-Day Walkthrough: What Settles and What Fails
- The 6-Month Check: Caulk, Sealant, and Cure
- The 12-Month Inspection, Organized by Trade
- Reading the Early Signs of Substrate Moisture Intrusion
- Caulk vs. Grout: Which Joints Should Never Be Grouted
- Making Your 365-Day Guarantee Actually Protect You
- How to Spot Work That’s Aging Well vs. Aging Badly
- The Annual Routine After Year One
The 30-Day Walkthrough: What Settles and What Fails
Thirty days after a remodel, the house has told you most of what it’s going to tell you early. Framing has dried and shifted into its long-term position. Fresh caulk has cured and either bonded or pulled away. Doors have either found their swing or refused to close. This is the cheapest inspection window you’ll ever get, because a punch list item at 30 days is a five-minute fix and the same item at two years is a demolition line item.
Here’s the checklist we walk homeowners through at the 30-day mark, organized by trade rather than by room, because failures follow the assemblies:
- Tile and waterproofing: Check every grout line for hairline cracking, especially at inside corners and where tile meets a tub or shower pan. Press a dry paper towel against the base of the wall for ten seconds. Any dampness means water is behind the tile.
- Framing and doors: Open and close every door and window. Note sticking, gaps at the strike plate, and any new cracks at drywall corners above door headers. Some settlement is normal in the first month, especially in the dry Santa Clara Valley air.
- Electrical: Test every outlet and switch. Feel the faceplates for warmth after a heavy-load appliance runs. A warm cover plate is a loose connection, not a quirk.
- Plumbing rough-in: Run every fixture for two minutes, then look inside the cabinet under sinks for beads of water at the supply connections and P-trap. Check the floor around the toilet base for slow seepage.
- Cabinetry: Open every drawer and door, check that soft-close hardware lands evenly, and look for gaps between the cabinet box and wall at the caulk line.
Write down everything you find with a date, a photo, and a one-line description. That log becomes the backbone of any warranty claim later. In Sunnyvale, where many homes sit on older slab or raised foundations and see seasonal soil movement, the 30-day walkthrough catches the most movement-related issues of any checkpoint on this schedule.
The 6-Month Check: Caulk, Sealant, and Cure
By six months, the materials have finished their first full cure cycle and the joints have been through a season change. This is when the caulk joints tell you whether the original installation was prepped correctly. Caulk that was applied over dust, over wet substrate, or without backer rod will be shrinking, cracking, or peeling at the edges. Caulk that was applied right will still be slightly flexible when you press it with a fingernail.
Run this sequence once at six months, then annually:
- Press every caulk bead at tubs, showers, sinks, and backsplashes. If it feels hard, it’s failed even if it looks fine. Failed caulk stops sealing before it stops looking acceptable.
- Check exterior penetrations if the remodel touched siding or a door: the joint where James Hardie siding meets trim, window perimeters, and any flashing transitions.
- Inspect the toilet base and the supply line behind it. A slow supply line leak at six months is common and almost always invisible until it stains the floor.
- Re-check the cabinet-to-wall caulk line. Cabinets settle into the floor over the first few months, and that joint opens.
- Look at the shower pan and shower door tracks. Standing water in a track means the weep holes are blocked, and that water is heading somewhere.
Sunnyvale’s dry summers and wet winters put real stress on exterior joints. A six-month check that lands in early fall gets you ahead of the rainy season, which is when small exterior gaps become interior water damage.
The 12-Month Inspection, Organized by Trade
At one year, you’re doing two things at once: running a real inspection and documenting anything you want your workmanship guarantee to cover. The stakes are higher here because most written guarantees on remodeling work run 365 days. Miss the window and a legitimate defect becomes your problem.
Work through each trade separately, and write as you go:
- Tile: Walk every tiled floor barefoot. Hollow-sounding spots or tiles that move underfoot mean a bond failure. Check grout at floor-to-wall transitions and on the shower bench seat.
- Framing and drywall: Look for new cracks at corners, above door and window openings, and along ceiling joints. A crack wider than a credit card is worth a professional look.
- Electrical: Open the panel cover only if you’re comfortable and the breakers are labeled. Otherwise hire an electrician for this one item. Look for scorching at breaker terminals, and test every GFCI outlet at the kitchen and bath with the test button.
- Plumbing rough-in: Check under every sink, at the dishwasher connection, at the washing machine supply box, and around the water heater if it’s inside the remodeled envelope. Look for mineral crust at fittings, which means a slow leak has been drying in place.
- Cabinetry and countertops: Check the caulk line between countertop and backsplash, verify drawer slides, and look at the joint where a Cambria or Silestone countertop meets the cabinet rail for any separation.
If any of this feels beyond what you want to do yourself, call us and we’ll do the review with you. In Sunnyvale we’ve seen plenty of remodels from other companies where the 12-month inspection is the moment the homeowner learns something was hiding.
Reading the Early Signs of Substrate Moisture Intrusion
Water behind tile or under flooring almost never announces itself. It gives you small, easy-to-miss tells, and by the time mold colonies are visible the problem is weeks or months old. The substrate is the layer under your finished surface: cement board behind shower tile, plywood under hardwood, a mortar bed under stone. Those materials don’t fail from one flood. They fail from chronic, slow moisture that never gets a chance to dry.
Learn these signals, in order of reliability:
- The paper towel test: Hold a dry paper towel against the base of a shower wall or tile floor for ten seconds. Any moisture transfer means water is wicking through the assembly.
- Grout discoloration: Grout that darkens at the bottom of a wall and not the top means water is rising from below or pooling behind the tile.
- Efflorescence: A white, powdery crust on grout or masonry is mineral deposit from water passing through. It’s a reliable sign of active moisture movement.
- Musty smell in a closed bathroom: If the bathroom smells earthy an hour after cleaning, moisture is sitting somewhere it shouldn’t.
- Lifting or cupping floor edges: In wood or laminate, edges that lift away from the subfloor point to moisture from below.
The fix for a small moisture problem caught early is usually re-caulking plus drying time. The fix for the same problem caught two years later is demolition and rebuild. That gap is why this schedule exists.
Caulk vs. Grout: Which Joints Should Never Be Grouted
Here’s the mistake we see most often in post-remodel maintenance: someone re-grouts a joint that was supposed to stay flexible. Grout is rigid. It’s the right material for field joints in the middle of a tile field. It’s the wrong material anywhere two different materials meet or anywhere a joint is expected to move.
These joints should always be flexible sealant, never grout:
- Where tile meets a tub, shower pan, or shower door frame
- Inside corners of a shower or tub surround
- Where tile meets a countertop or a dissimilar floor
- Where backsplash meets countertop
- Any exterior joint between materials, like siding and trim
Each of those spots moves. Tile moves at a different rate than the tub, the cabinet moves at a different rate than the wall, and temperature swings move exterior joints through the year. A rigid grout joint in those spots cracks within a season, and the crack becomes the water path. Re-caulking those specific joints on a 12-month schedule is the single most effective maintenance step you can take, and it’s cheap. We hand every homeowner a note at project close telling them exactly which joints we caulked and when to redo them. Some homeowners use Dvele or Plant Prefab modular systems, which come with their own documented joint schedules; those pair well with the same annual routine.
Making Your 365-Day Guarantee Actually Protect You
A 365-day workmanship guarantee is a serious commitment, and it only protects you if you document the issue in writing inside the window. Verbal complaints, “I mentioned it to the guy,” and a text sent to a number nobody monitors don’t create a record. That’s not about the contractor being difficult. It’s about a warranty claim needing a documented defect to be actionable.
Here’s the simple system we recommend, and the one our own 365-Day Done Right Promise is built to work with:
- Keep a single home folder for the project, physical or cloud-based. Every issue goes in it with a date, a description, and a photo.
- Report in writing, by email or through the contractor’s written channel, the same week you notice a problem. Cite the date you noticed it and attach the photo.
- Ask for written acknowledgment that the report was received. A one-line reply is enough.
- Schedule the repair before the window closes, and confirm the appointment in writing. The report being filed inside the window is what matters, not the repair date.
If a repair fails, our free second visit policy means we come back at no charge, with no service call fee. But the initial report has to exist in the file. In Sunnyvale we’ve walked into homes where a real defect sat documented only in the homeowner’s memory, six months past the guarantee window. That’s a painful conversation and it’s avoidable. Our written guarantee is only as strong as the documentation trail.
How to Spot Work That’s Aging Well vs. Aging Badly
Most homeowners can learn the visual difference between work holding up and work in early decline in about ten minutes. The trick is knowing where to look, because the failures start in transitions. Corners, edges, and material changes are where good work and bad work diverge first.
Work that’s aging well shows:
- Grout lines that are uniform in color from top of wall to floor
- Caulk joints that are still slightly soft to the touch, with no visible gap at either edge
- Doors and windows that open smoothly without dragging, and stay where you put them
- Cabinet doors that land flush at the top and bottom of each opening
- Baseboards that still sit flush to the floor, with no shadow gap at the bottom
- Painted drywall corners with no hairline cracking
Work that’s aging badly shows the opposite of each of those, and quietly. A shadow gap under a baseboard means the floor has moved or the caulk has failed. A door that needs a shove means the frame has shifted or the hinge has loosened from its anchor. Uniform grout discoloration from top to bottom of a shower wall is a different signal than discoloration concentrated at the base; the latter is moisture. Take a photo of each transition area at 12 months and again at 24 months. The side-by-side comparison tells you more than any single inspection.
The Annual Routine After Year One
After the first year, the schedule simplifies to one thorough walkthrough a year with a short monthly spot check. The annual review covers everything in the 12-month inspection above, plus a couple of items that only matter once the house has some wear on it. Since much of this work falls within what a general contractor covers, our General Contractor in Sunnyvale service page walks through the scope in more detail.
For your monthly spot check, keep it short:
- Look under sinks for beads of water
- Press one caulk joint in each bathroom
- Open and close every window once
- Test the GFCI outlets with the button
The annual walkthrough takes about two hours and catches nearly everything. If your remodel was a Kitchen Remodeling in Sunnyvale project, add the under-sink and dishwasher connection to every visit, and check the backsplash caulk line. If it was a Bathroom Remodeling in Sunnyvale project, check the shower pan, the tile field, and the door track every quarter. Sunnyvale’s mix of older ranch homes and newer construction means the foundation type matters too: raised foundations move more with soil moisture, so homes on older crawl spaces deserve a look at every hard floor transition twice a year. You’ll find more detail on how we approach full-home maintenance on our Penhallow Remodeling Sunnyvale home page. Homeowners using modular construction, including some Boxabl or Mighty Buildings systems, can pair this routine with the manufacturer’s schedule without much overlap.
Common Mistakes to Avoid
- Re-grouting a joint that should be caulk. Grout is rigid and looks like the right fix, but flexible joints by design need caulk. Re-grouting them guarantees a crack within one season and puts water into the wall.
- Trusting visual inspection for moisture. Water behind tile doesn’t show as a stain until the substrate and framing have been wet for months. The paper towel test is the only reliable visual check.
- Letting the 365-day guarantee lapse without a written record. A verbal complaint to a technician on the last day of the window doesn’t count. Write it down, send it, get a written reply.
- Skipping the 30-day walkthrough. In Sunnyvale this is the cheapest inspection on the schedule and the most likely to catch framing settlement before it becomes a door that doesn’t close.
- Ignoring a warm faceplate. A warm outlet cover is a loose connection, and loose connections arc. That’s a fire risk, not a maintenance item to get to next month.
- Replacing stained grout without finding the source. Discolored grout at the base of a shower wall means water from somewhere. Painting over it with a grout pen hides the warning and buys no time.
- Caulking over a wet joint. Any new caulk bead applied over moisture or dust will fail inside a single season. Dry the joint, clean it, and use backer rod where the gap allows.
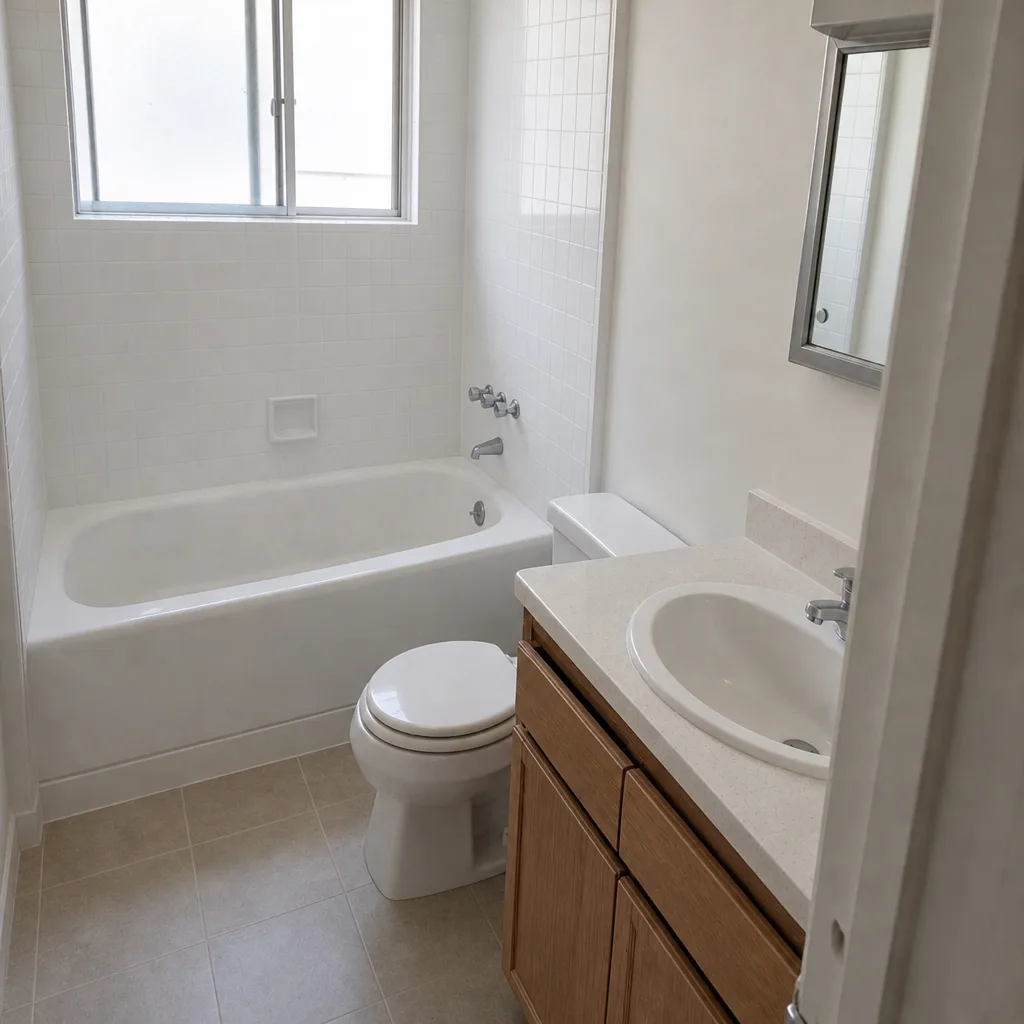
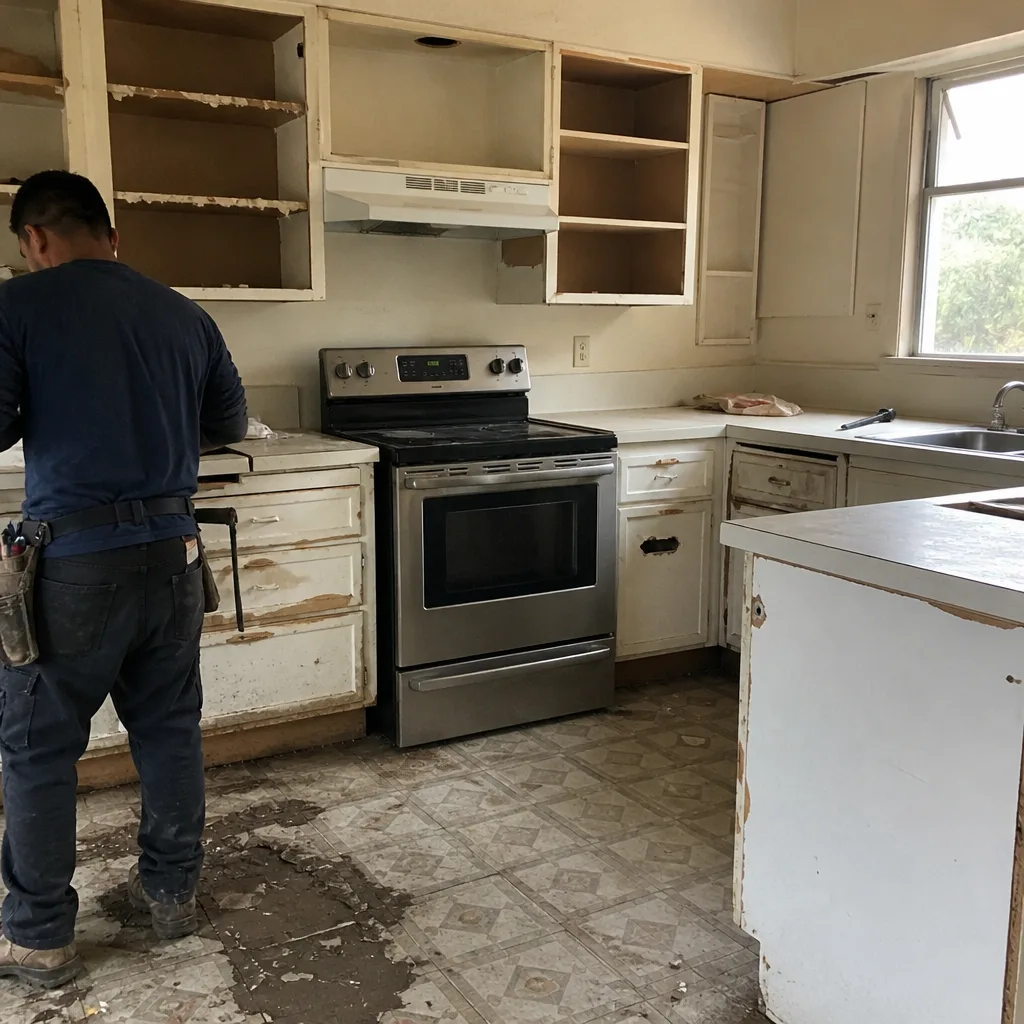
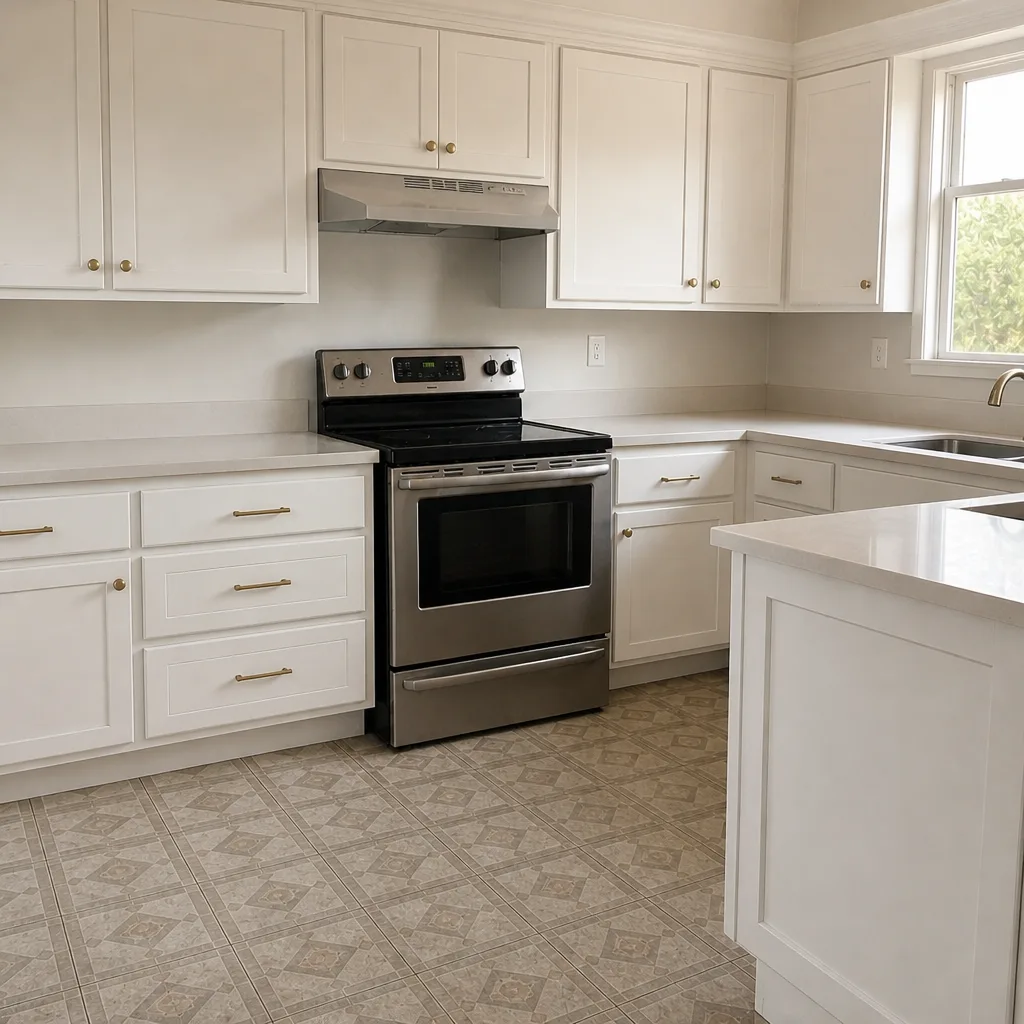
See the difference
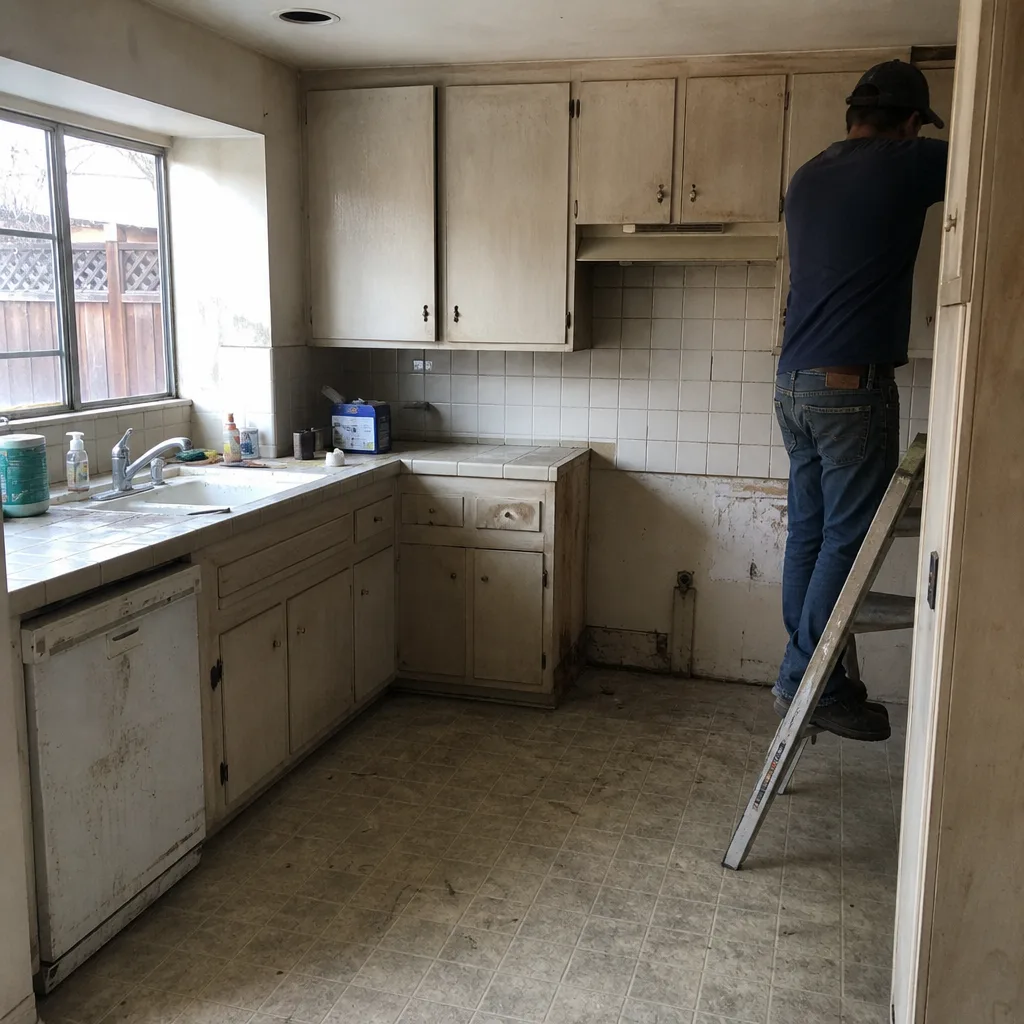 Before
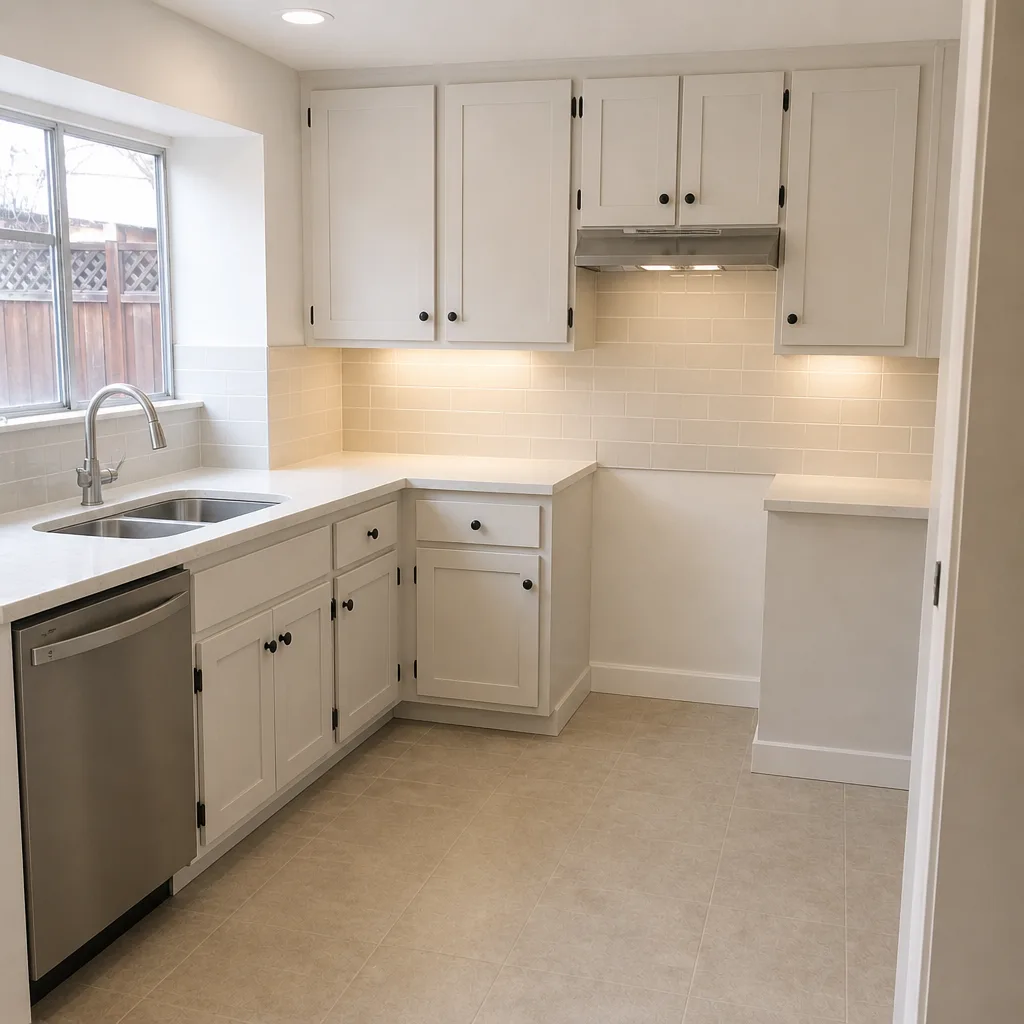 After
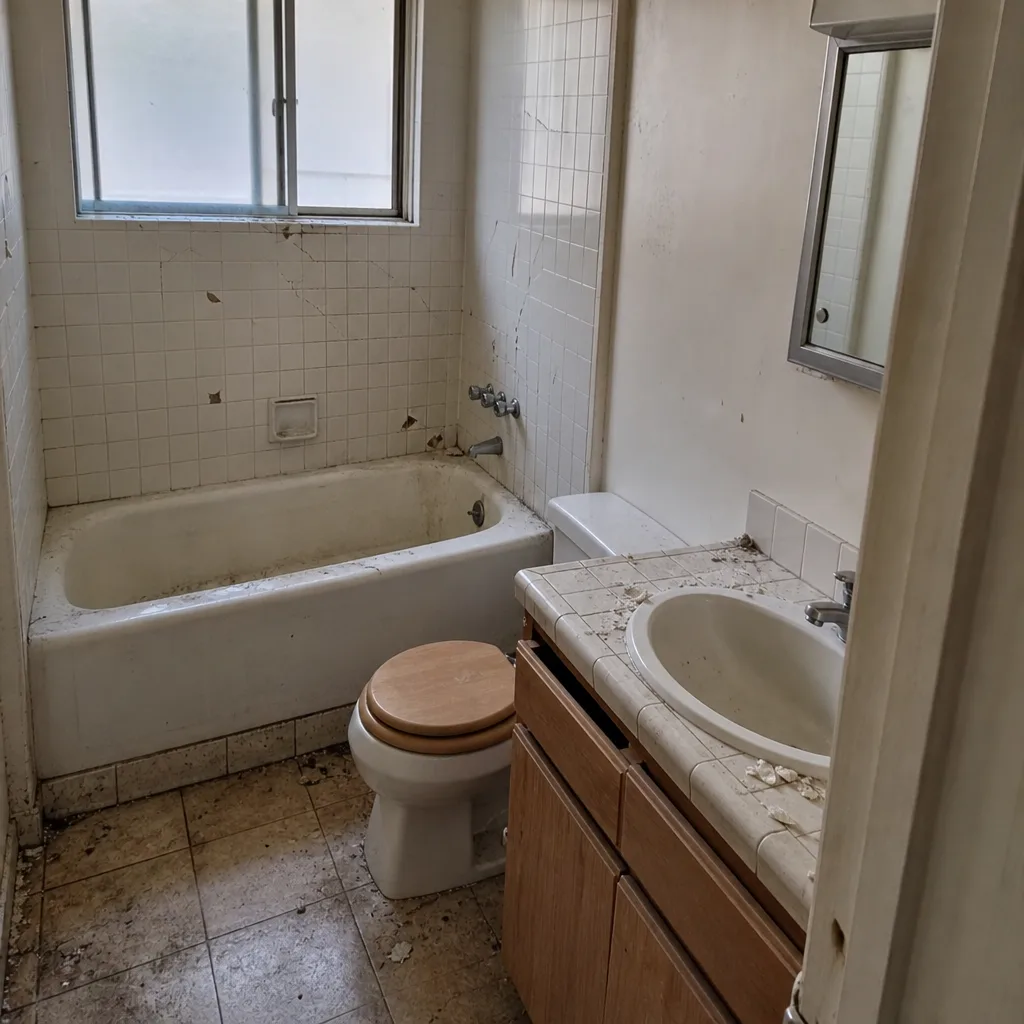 Before
 After
 Before
 After
When to Call a Professional
Most of this guide you can do yourself with a notebook and a weekend. Some of it you shouldn’t. Call a professional when you find a hollow-sounding tile field, a tile that moves underfoot, or a moisture test that keeps coming back damp after a full dry cycle. Call when an outlet cover plate is warm, when a breaker trips repeatedly, or when you smell something hot behind a wall. Call when a door has shifted so much it won’t latch, when a ceiling crack widens across a season, or when the toilet rocks in its flange. And call when a warranty-window issue needs a documented repair. Penhallow Remodeling Sunnyvale offers free estimates in Sunnyvale. Call (888) 426-8719 and a real person answers, any hour. Every estimate comes with a written price before any work starts, every technician is background-checked and arrives in uniform, and our 365-Day Done Right Promise is backed in writing on every project.
Frequently Asked Questions

Thirty days after project close is the first checkpoint, and it should be a full walkthrough organized by trade: tile, framing, electrical, plumbing rough-in, and cabinetry. Framing has settled to its long-term position by then, and caulk has cured enough to show early failures. Catch items now and they’re small fixes. In Sunnyvale, where seasonal soil movement is real, the 30-day walkthrough catches the most movement-related issues of any checkpoint. Call (888) 426-8719 to coordinate a review with us, free of charge.
Press a dry paper towel against the base of the shower wall for ten seconds. If the paper towel comes away damp, water is wicking through the assembly. Secondary signs include grout discoloration concentrated at the base of the wall, a powdery white crust on grout, and a musty smell in a closed bathroom right after cleaning. Any of these warrant a professional inspection before the damage spreads. Call (888) 426-8719 for a free estimate if you want us to take a look.
Re-caulk, every time. That joint is designed to be flexible because the countertop and the wall move at different rates. Grout there will crack within one season. Use 100% silicone caulk, clean the joint fully, dry it, and use backer rod if the gap is wide enough. Re-caulk the same joints every 12 months and you’ll stop the most common water path into a kitchen wall. Call (888) 426-8719 if you’d rather have us handle it, with a written price up front.
The 365-Day Done Right Promise covers workmanship defects for a full year after project close, and it’s backed in writing on every project. If the work fails inside the window, we come back and fix it at no charge. The catch is documentation: the defect has to be reported in writing inside the window, so keep a dated record and a photo. Call (888) 426-8719 for a free estimate or to file a warranty report.
Yes, two things. The first is the dry-to-wet seasonal swing: exterior joints and door perimeters should be inspected in early fall, ahead of the rainy season, because that’s when small gaps become interior water damage. The second is that many Sunnyvale homes sit on raised foundations and see more soil-moisture movement than a slab, so hard floor transitions and door openings deserve a twice-a-year check. Call (888) 426-8719 if you want a written estimate on any repair the inspection turns up.
Penhallow Remodeling Sunnyvale offers free estimates on any repair or follow-up work we do in Sunnyvale. A dedicated inspection visit that turns up nothing billable is a conversation worth having with us directly, so call and we’ll tell you what makes sense for your project. Every repair estimate comes as a written price before any work starts, and every job is backed by the 365-Day Done Right Promise. Call (888) 426-8719 and a real person will answer.
The Bottom Line
Most of the cost of a remodel isn’t in the build. It’s in the failures you didn’t catch in the first year. Run the 30-day walkthrough, the 6-month caulk check, the 12-month trade-by-trade inspection, and the annual walkthrough after that. Learn the moisture test and the caulk-versus-grout rule. Document everything in writing inside your warranty window. That’s the whole system, and it takes a couple of weekends a year. If a check turns up something that needs a trained eye, or if your 365-day window is running short, give us a call.
Ready for a written price before any work starts? Call Penhallow Remodeling Sunnyvale at (888) 426-8719 for a free estimate. A live person answers any hour, every estimate is written in full before work begins, and every project is backed by our 365-Day Done Right Promise and The Kingswell Way: say the price before the work, show up in the window we gave, and leave the place cleaner than we found it.
Written by the team at Penhallow Remodeling Sunnyvale.